Introduction to Jenkins
Jenkins is an open-source automation server that facilitates the building, testing, and deployment of software projects. It is a popular tool in the field of continuous integration and continuous delivery (CI/CD), allowing developers to automate various stages of the software development lifecycle.
Now, let's get started with hands-on activities
first step for beginning with jenkins would be to go on AWS and launch an instance , by the way if you don't know how to create or launch instance here's a simple demo below:
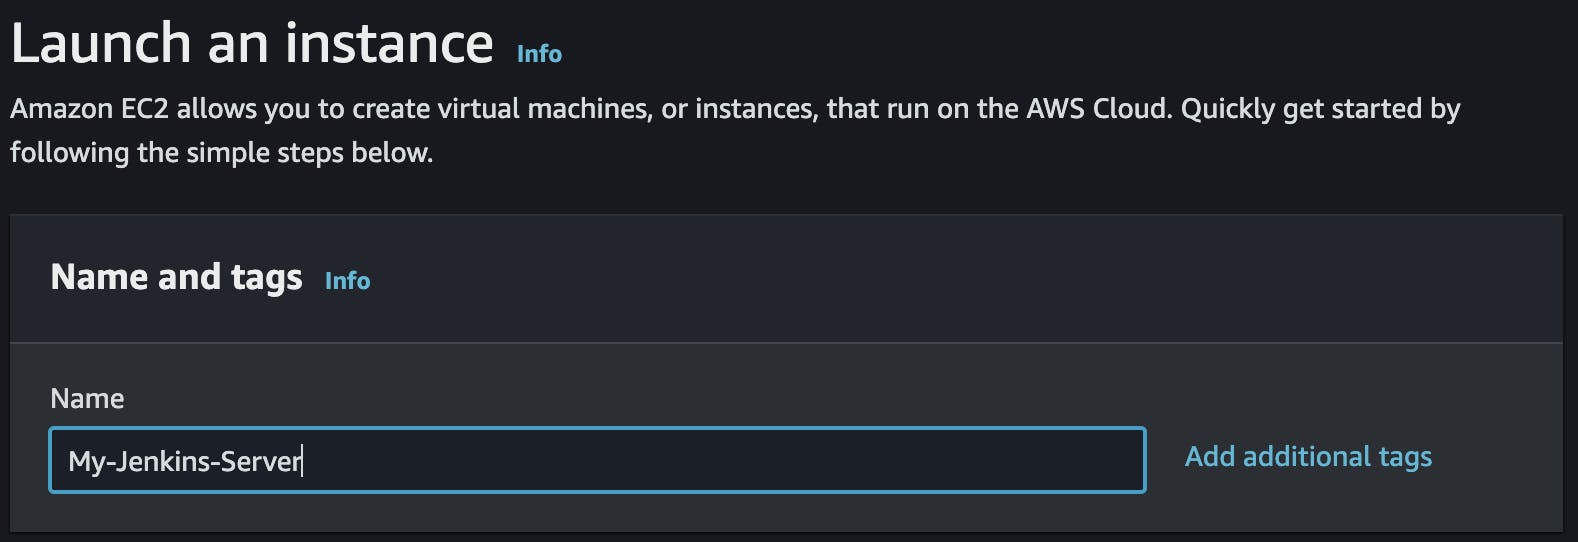
Just launch an instance by writing the name of instance in my case it is "My-Jenkins-Server".
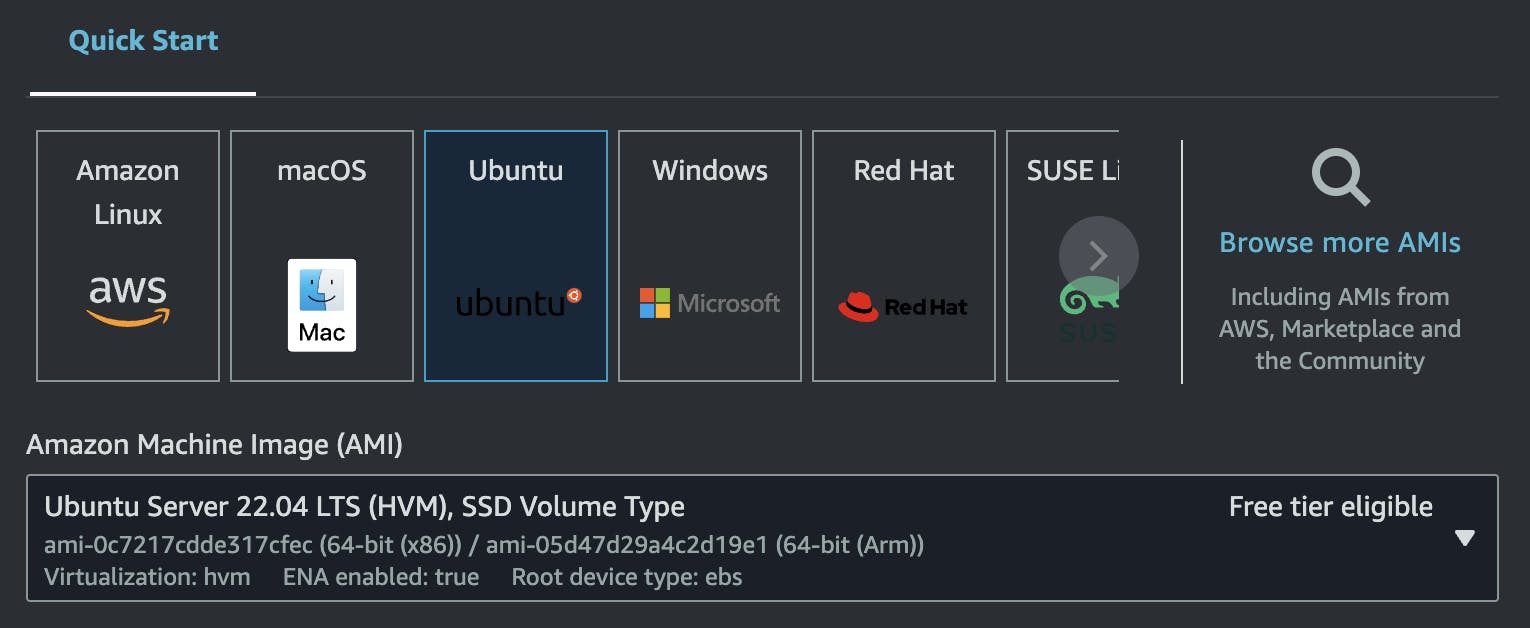
Than in next step you would be creating t2 micro instance. Note if you are in european server it might be called as t3. So don't get confused about names. These names are generally given to depict on which machines they are using or running. Choose Ubuntu and move forward to next step.
There would be an option for choosing your key pair, if you don't have key pair you can create it by simple clicking on button create. The given below image shows you the interface for creating the key pair which is quite easy for anyone, by seeing we can understand it.

After creating key pair ,just launch the instance. Your instance would take 10 seconds to run. Go inside the created instance and there below there would be several options, from those there is security option. Go to security and click on instance name there is option for edit inbound rules.
kindly add rule,
Jenkins always runs on port 8080. So add rule for custom port 8080 anywhere IP4 and click save.
Go to instance public ip address, copy that and go on new tab and paste the ip with port number which goes like 192.168.56.342:8080.
Congratulations!✨
You just setup the Jenkins on your Ubuntu machine. There will be an interface which will look exactly same which is given below. The file location provided should be pasted on your terminal like this:
sudo cat /var/lib/jenkins/initialAdminPassword
You will get an protected password type string which should be again pasted on the empty box called Administrator password.

Just like this:

After successfully signing in to jenkins , there would be another interface for user customization about plugins an individual wants to download. For my case, I would be selecting Install Suggested Plugins.
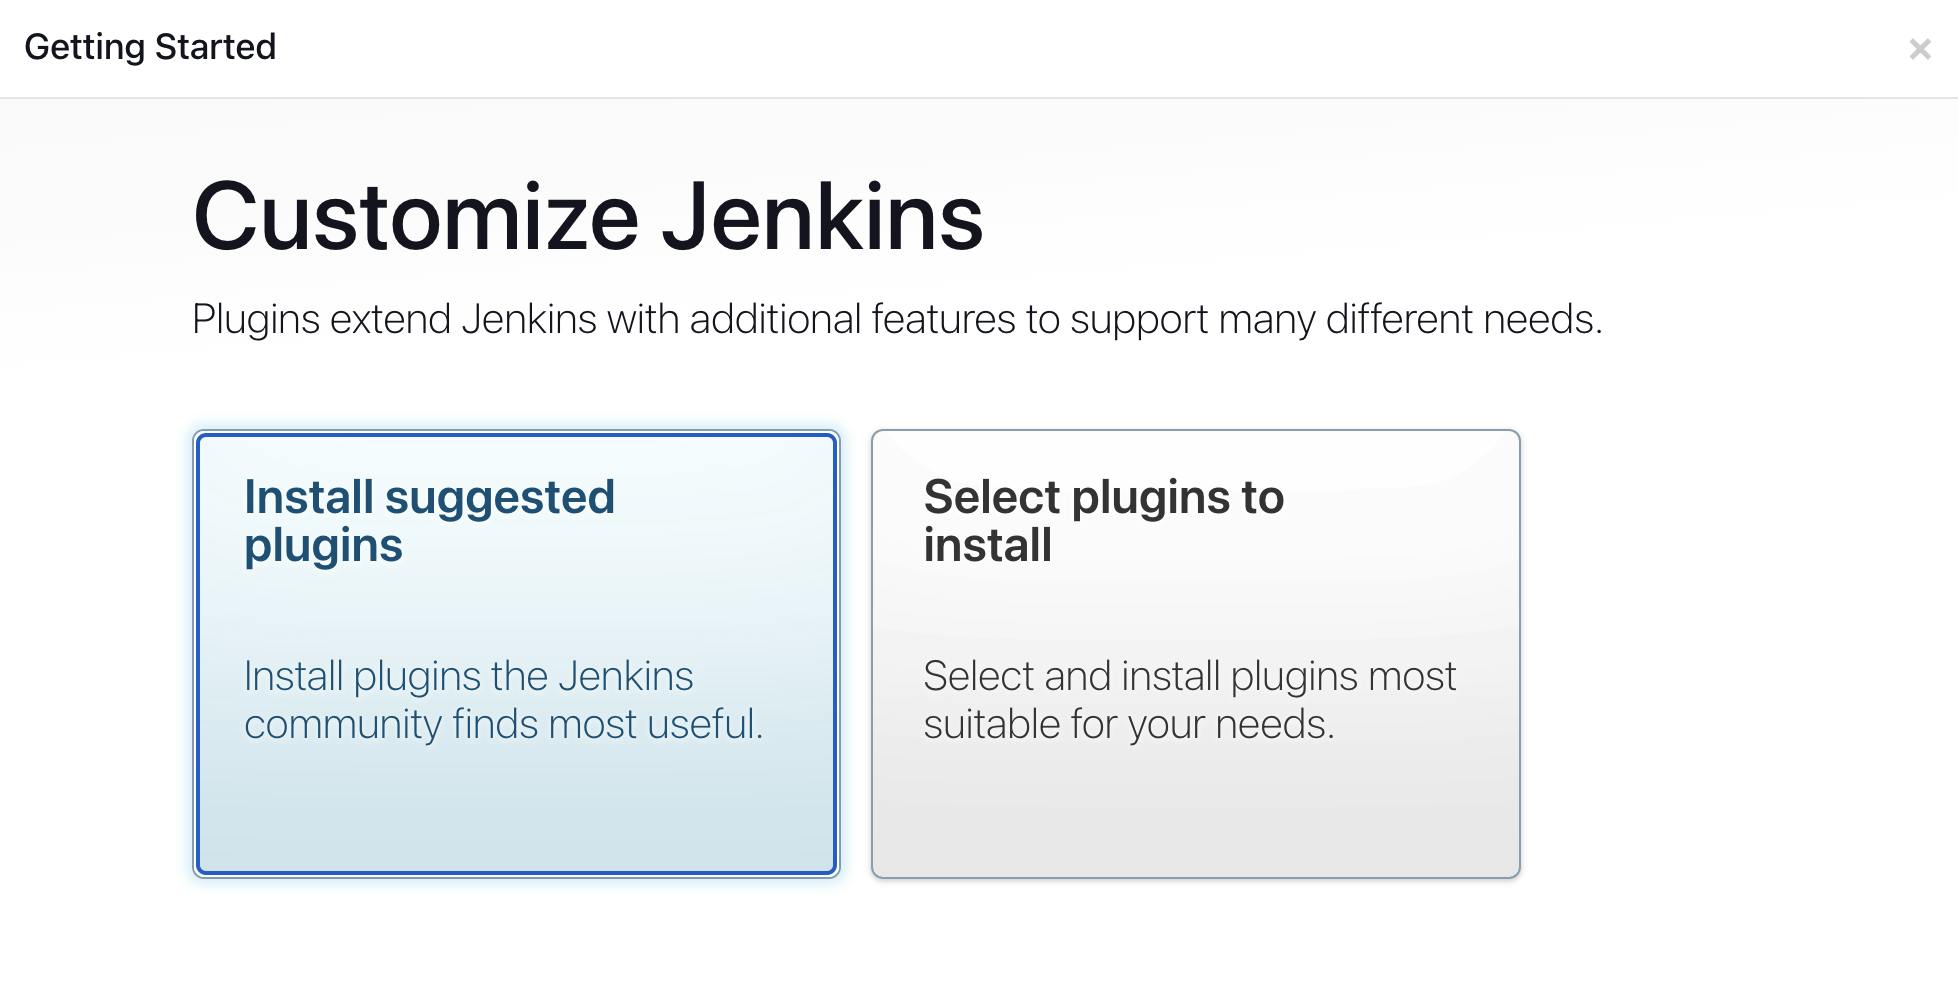
It will download the default plugins which are most needed to download given below.

After all installation of plugins there would create admin user page , In this page you would add you personal details and move on to next step.

This interface would be your first page after successfully completing all the jenkins prerequisites. I have just posted a section of it which is much more important for the time to get started with creating a job.

Click on "Create a job", add the item name with selection of freestyle project and a small brief of your project description which in my case is simple Django Todo CI/CD project.


You have to add github url for the project you want to make CI/CD.For my case I have put github url for django todo repository.

note:Kindly add the correct branch name , Here many of the beginner people make mistakes. Make sure to recheck the branch name from github inorder to reduce the mistakes.

After scrolling through page, you will see the second last step would be for Build Steps, here we would be using Execute shell where we would be performing some shell commands in order to run the django todo on our local host ubuntu.

Clicking on "Execute Shell" will open a big empty box where you can write your shell commands which is shown below.
here I have firstly written some information in echo command which is not compulsory or needed. We can directly build the image and get started with it.
docker build -t django-ci/cd .
docker run -d -p 8000:8000 django-ci/cd:latest

Apply and save these settings and commands we have executed. Going to dashboard you will see the Django Project is made and just have to build or run to get execute the things.

Cliking on Django Project will take you to another interface where you should click on "Console Output" to see the commands executed with information. We can also see the errors if occured.

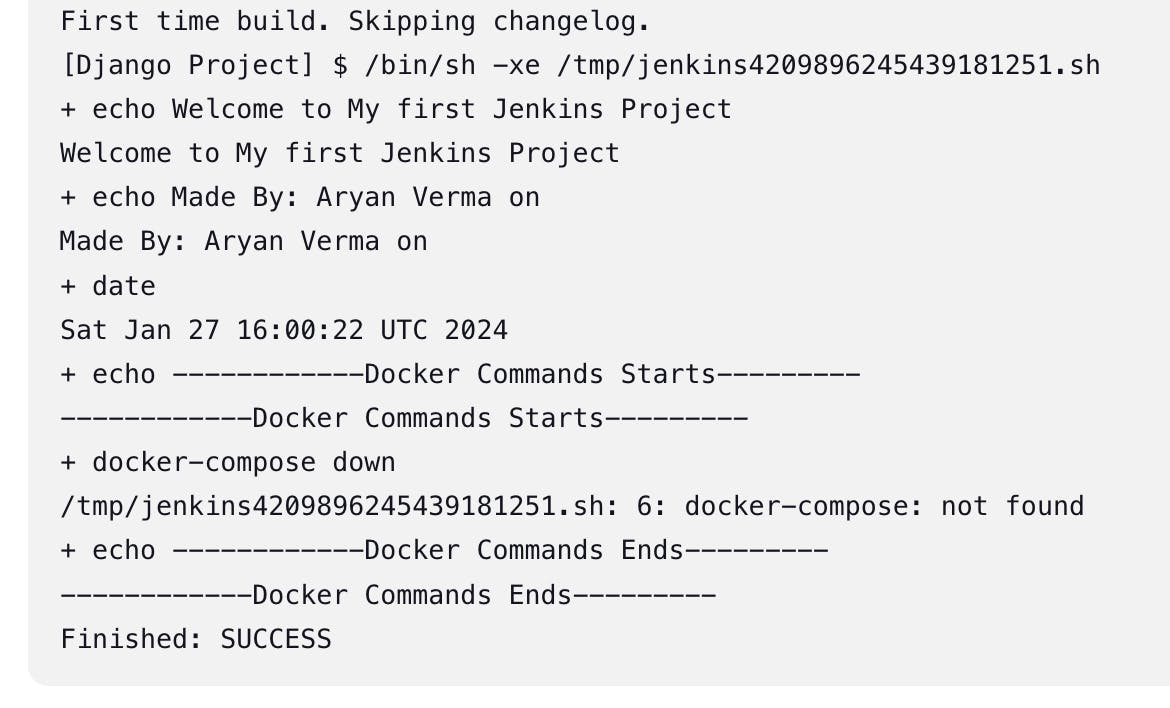
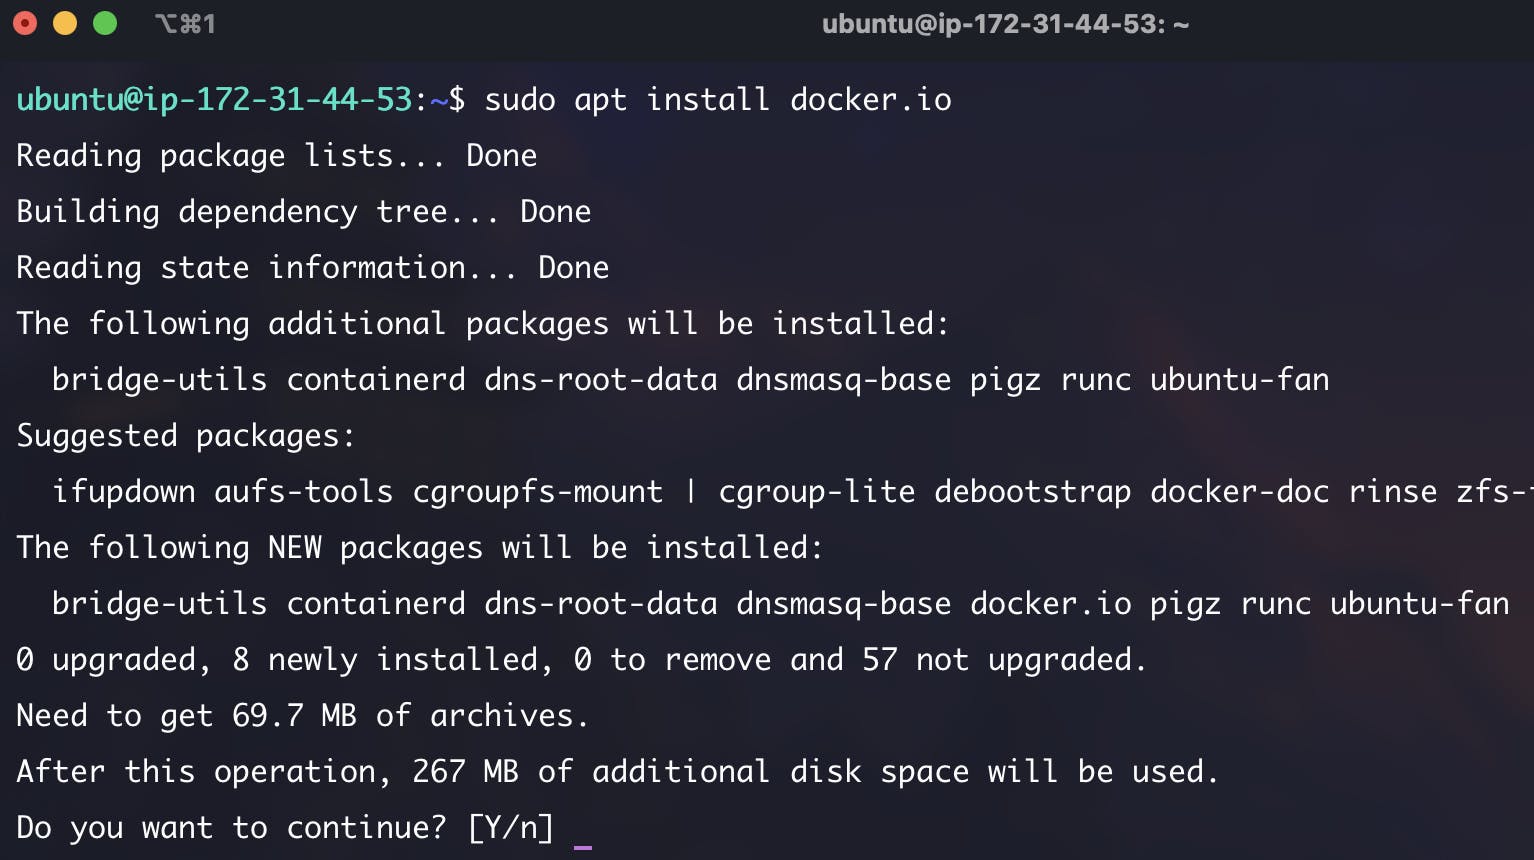
In order to run this, we need docker which is not present in our ubuntu machine. We can download it by using the command
sudo apt install docker.io
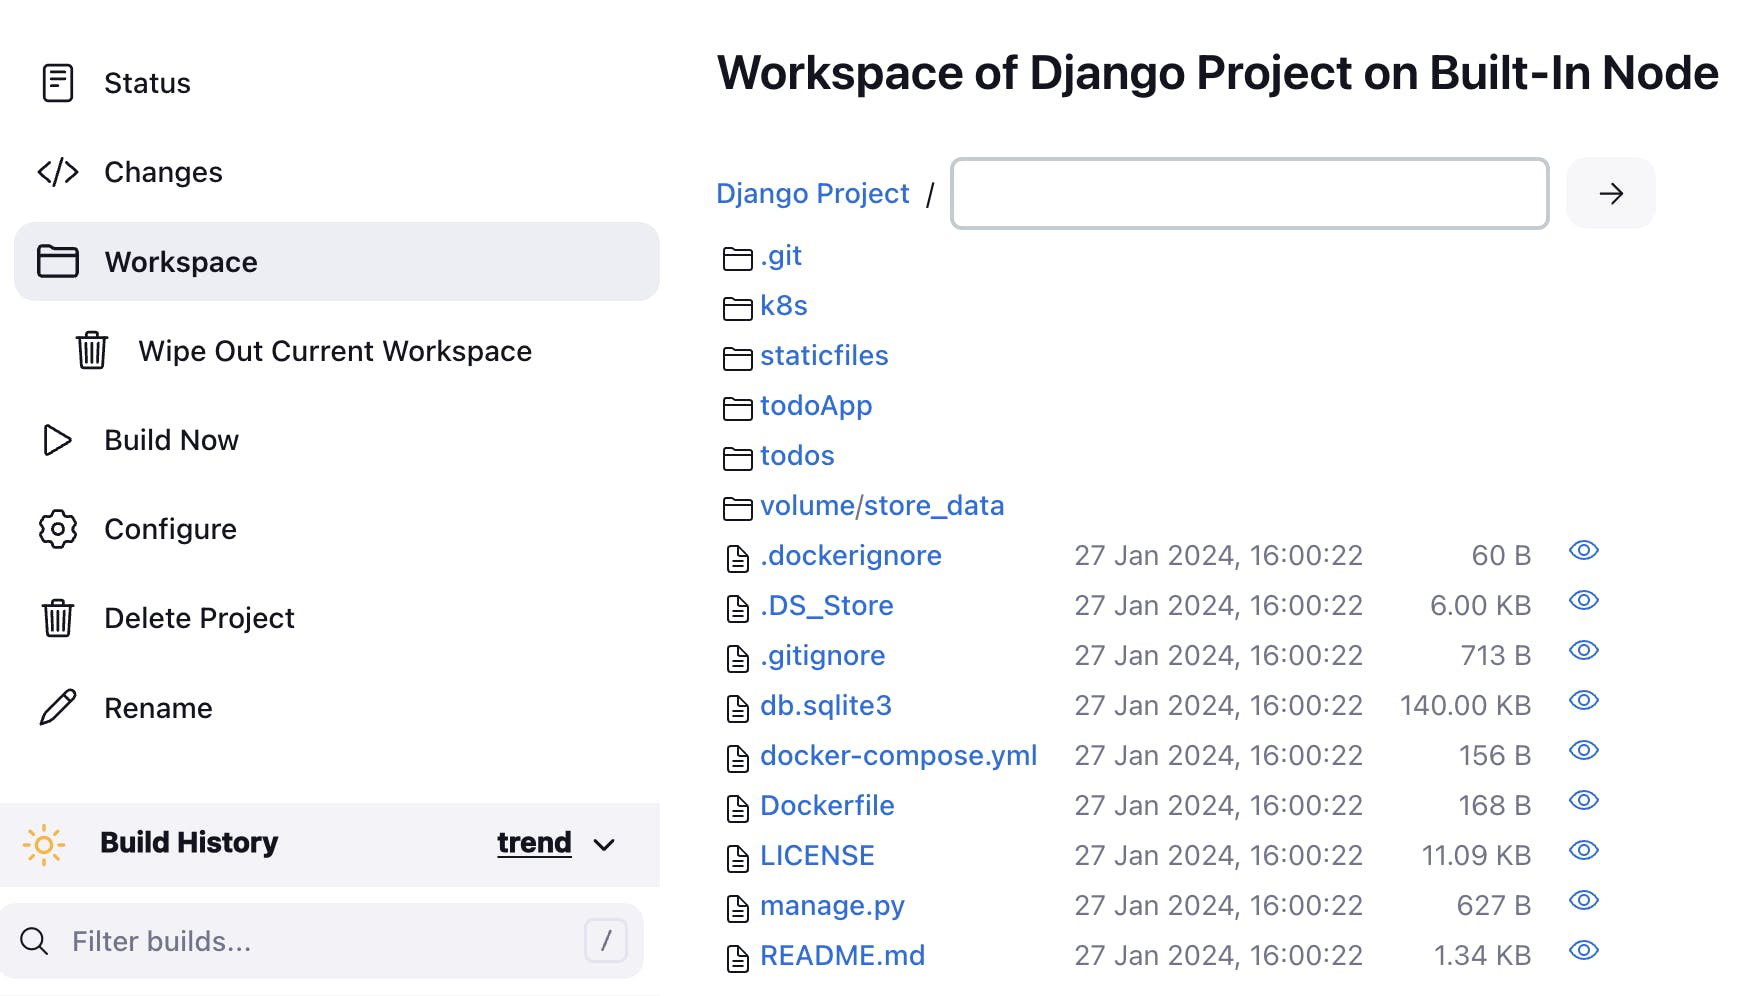
You can see going to workspace will reveal all the file and folder which were there on github are snatched here on to jenkins platform.
After we have downloaded the docker. The user permission will decline for any command you run on terminal. In order to resolve this issue we should add user jenkins in order to get access. "sudo reboot" is used here to reboot the machine and restart with loading all the process with a fresh start.

You can go to the specified file location listed in console output, after directing here to the specified location you can see all the files and folder are present here which were before present on remote github platform.

Before going to last step, One most important step is the again go on to security section of instance running to edit the inbound the rules to open the port 8000.
Go to edit inbound rules, add the rule custom port number is 8000 and it could be for your personal use so use my-ip or anywhere IP4 or 6. Save it and locate to running instance there you copy the public ip of running instance and go to new tab of your browser and paste it will specified port using ":" which is show below.
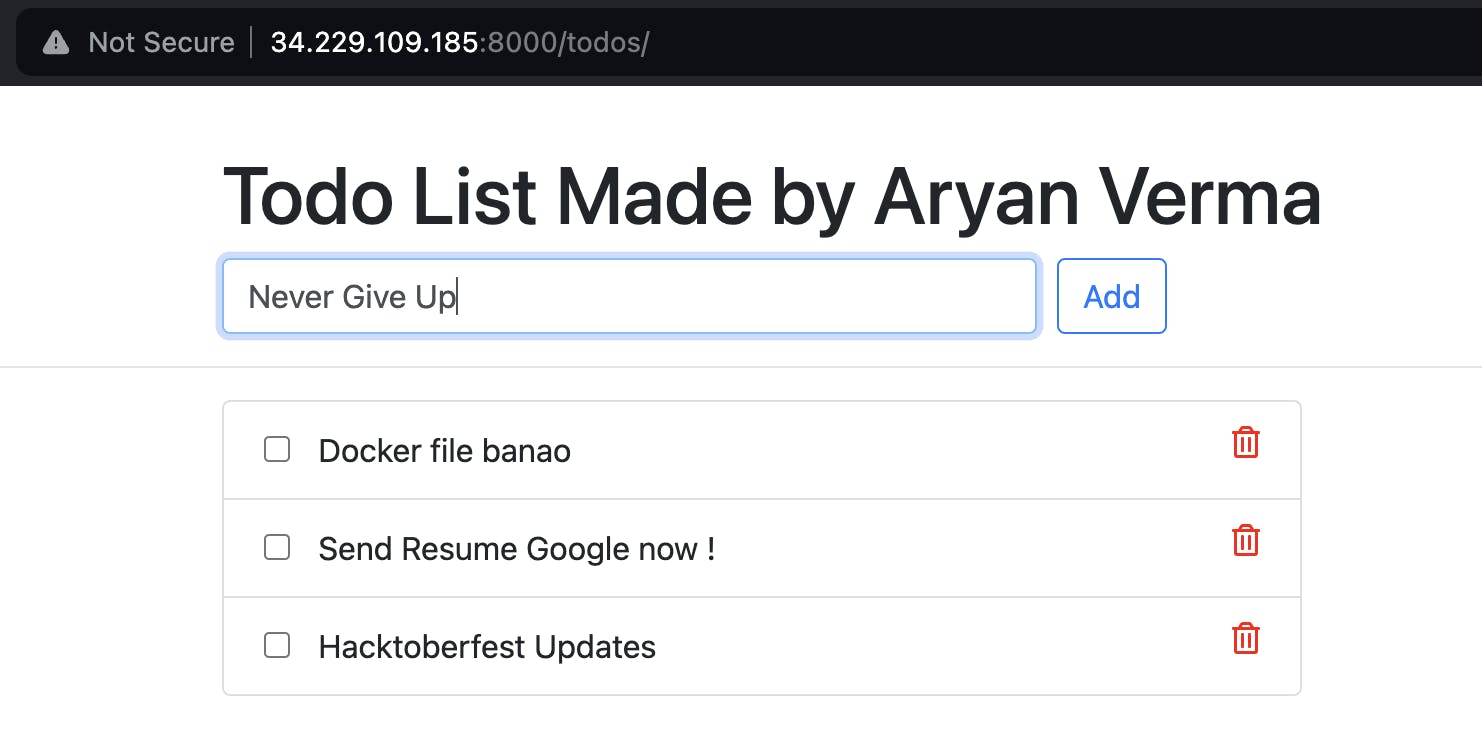
Congratulations!🚀
You've just accomplished your first continuous integration setup for the Django Todo App. By configuring Jenkins and creating a basic build job, you've taken a significant step towards automating your development process. This hands-on experience lays the foundation for efficient and reliable software delivery. Keep exploring Jenkins features, integrating additional tools, and refining your CI/CD pipeline for even greater automation success.
Well done ✨
Hard work fuels dreams. Keep grinding.
